It was pretty cold out tonight and the heater kep the garage at a toasty 47 degrees F. The outside temp was -18 degrees celcius (-0.4 degrees F) and a windchill of -27 degrees celcius or a chilly -16.6 degrees F for the folks south of the border....I actually had to plug the car in tonight!
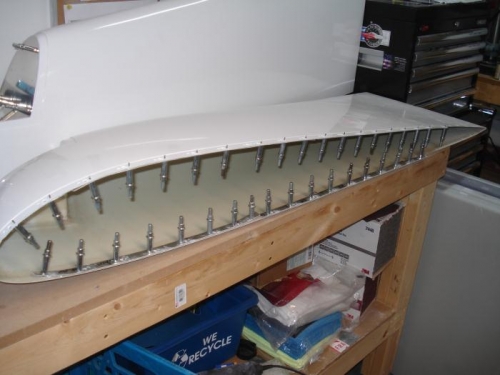
I marked each reinforcement strip and then removed one at a time, removed the blue vinyl, then deburred and replaced back into it's position.
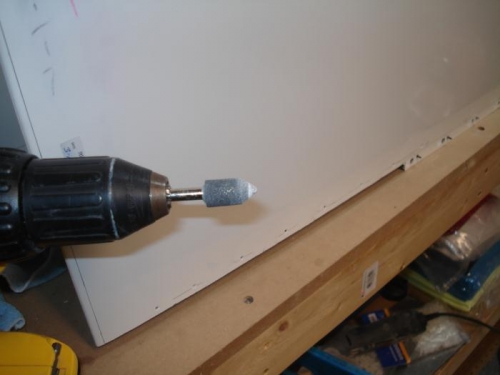
After all 6 pieces were deburred, I pulled out a tapered stone to countersink the rivet holes and the screw holes.
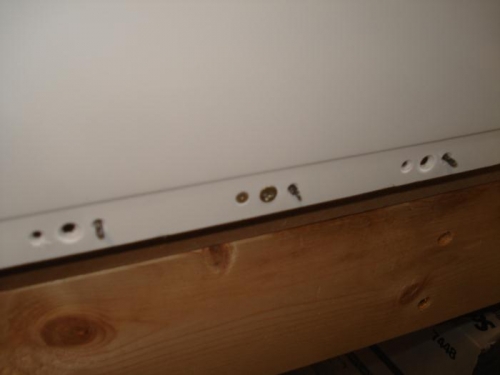
Using the stone, I was able to determine the right depth and then use the white line on the stone from the dust as a reference for all the other holes. Pretty easy and quick.
After the #40 rivets holes were done, I countersunk the screw holes in the same fashion.
Whatever you do, DO NOT use a metal countersinks on the fibreglass as it will dull the blades in no time, and the stone does a nicer and smoother job.
I'll mix a batch of epoxy on Wednesday and give that a shot with the reinforcements strips.
No word yet from Van's, ut the fueslage kit should be shipping in the next day or so. I'll call Barb tomorrow and confirm.
Reinforcement strips deburred and ready for epoxy.